Train your own Real-ESRGAN Compact Model with runpod.io
Mar 23, 2022
Prerequisites?
This post assumes you already have your training dataset, validation set, training config file, pretrains and any other file you will possibly need like meta files ready. This post is simply to show how to train a model externally with runpod.io instead of locally, using the Real-ESRGAN repo. If a more beginner-friendly post about these prerequisites is needed I might be able to work on one in the future.
Runpod.io?
When training locally, training will be limited by your available GPU VRAM, which will limit what gt_size and batch_size values you can choose in your config file. I was hitting such a limit recently when training a RRDBNet model on an LSDIR PairedDataset with my 6GB GTX1660S, where I was out of ram rather quickly and needed to lower my gt_size from 256 to 192 with a max batch size of 5. So instead of buying a more powerful GPU, which is pricey, we can rent out more powerful GPUs with runpod.io to increase our limited resources for training.
How does it work?
The basic principle is that we create a new pod in runpod.io with a GPU of our choosing, which is basically a docker instance running on an external server. Then we configure our runpod instance by setting up the training structure (Real-ESRGAN repo), uploading our data, installing dependencies and then training our model and then downloading resulting files.
With runpod we pay for rented GPU usage and data storage on an external server. You can check out the costs on the runpod.io website. As one 'cheapest option' example, going with a 1x Quadro RTX 5000 with 16GB VRAM (0.18$/h) and 100GB storage (10 temp, 90 perm) would cost us 1.56$ to run for 8 hours.
I made a little list of the cheapest GPU option in its VRAM category
GPU VRAM $/h 8h
1x Quadro RTX 5000 16 0.18 1.44
1x RTX A4500 20 0.26 2.08
1x RTX 3090 24 0.29 2.32
2x Quadro RTX 5000 32 0.36 2.88
2x RTX A4500 40 0.52 4.16
2x RTX 3090 48 0.58 4.64
4x RTX A4000 64 0.96 7.68
4x RTX A4500 80 1.04 8.32
4x RTX 3090 96 1.16 9.28
8x RTX A4000 128 1.92 15.36
8x RTX 3090 192 2.32 18.56
100GB permanent storage costs:
Running for 8 hours - 0.12$
Exited pod for 8 hours - 0.24$
Dataset upload preparation
Since running a pod will cost us money, we want to optimize running time. We can already prepare our data we want to upload, which, depending on your training set size, might take a while. For this purpose we will use a tool provided by runpod itself, called runpodctl, but something else might be better for you, depending on your estimated upload time. We can actually check how long it will take us to upload the data to our pod in advance:
When I ran 'du -sh' in my console, it showed my that my hr set was 145GB in size

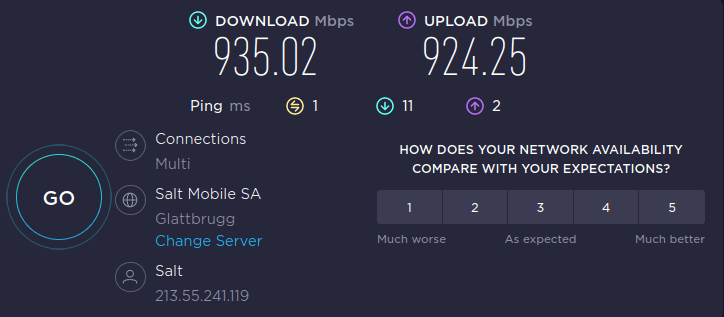
Running speedtest.net, this was my result:
And using downloadtimecalculator.com/Upload-Time-Calculator.html by filling in these values, I can get an estimate of how long it will take me to upload this hr dataset:
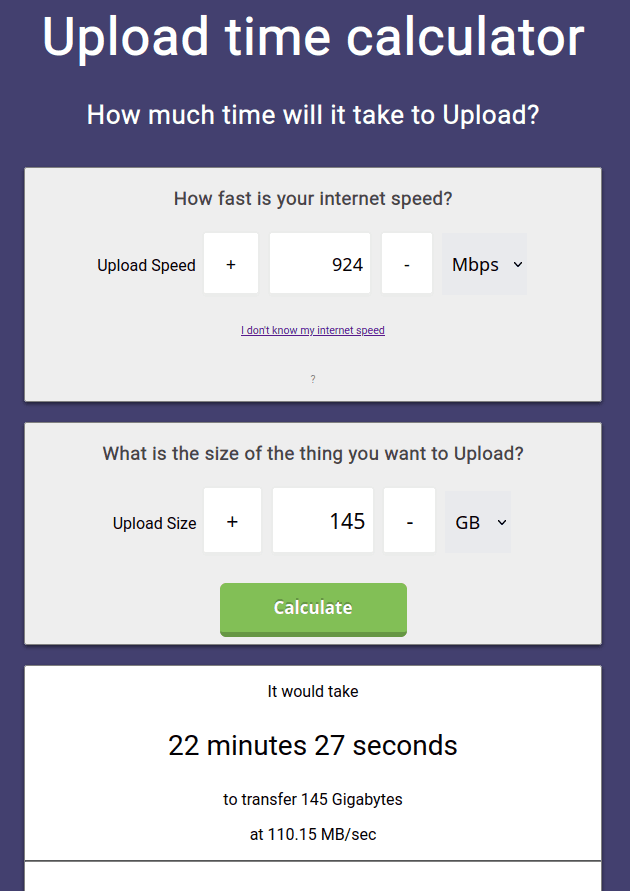
So I know it will take me around 25 minutes to upload my hr dataset. Now network speeds for you might differ (I got myself a rather nice home network connection) so its best to try it out for yourself. If you have a way longer upload time, you might be better off by manually zipping your hr images, uploading that file to a hosting provider (like your gmail drive), which you later on will be able to download that data to the pod from that hosting provider directly (with something like wget). I am showing the runpodctl solution here.
To prepare the upload, we first need to install runpodctl as described on their github repo, so for Linux (I am using Ubuntu) we can cd into the directory and use